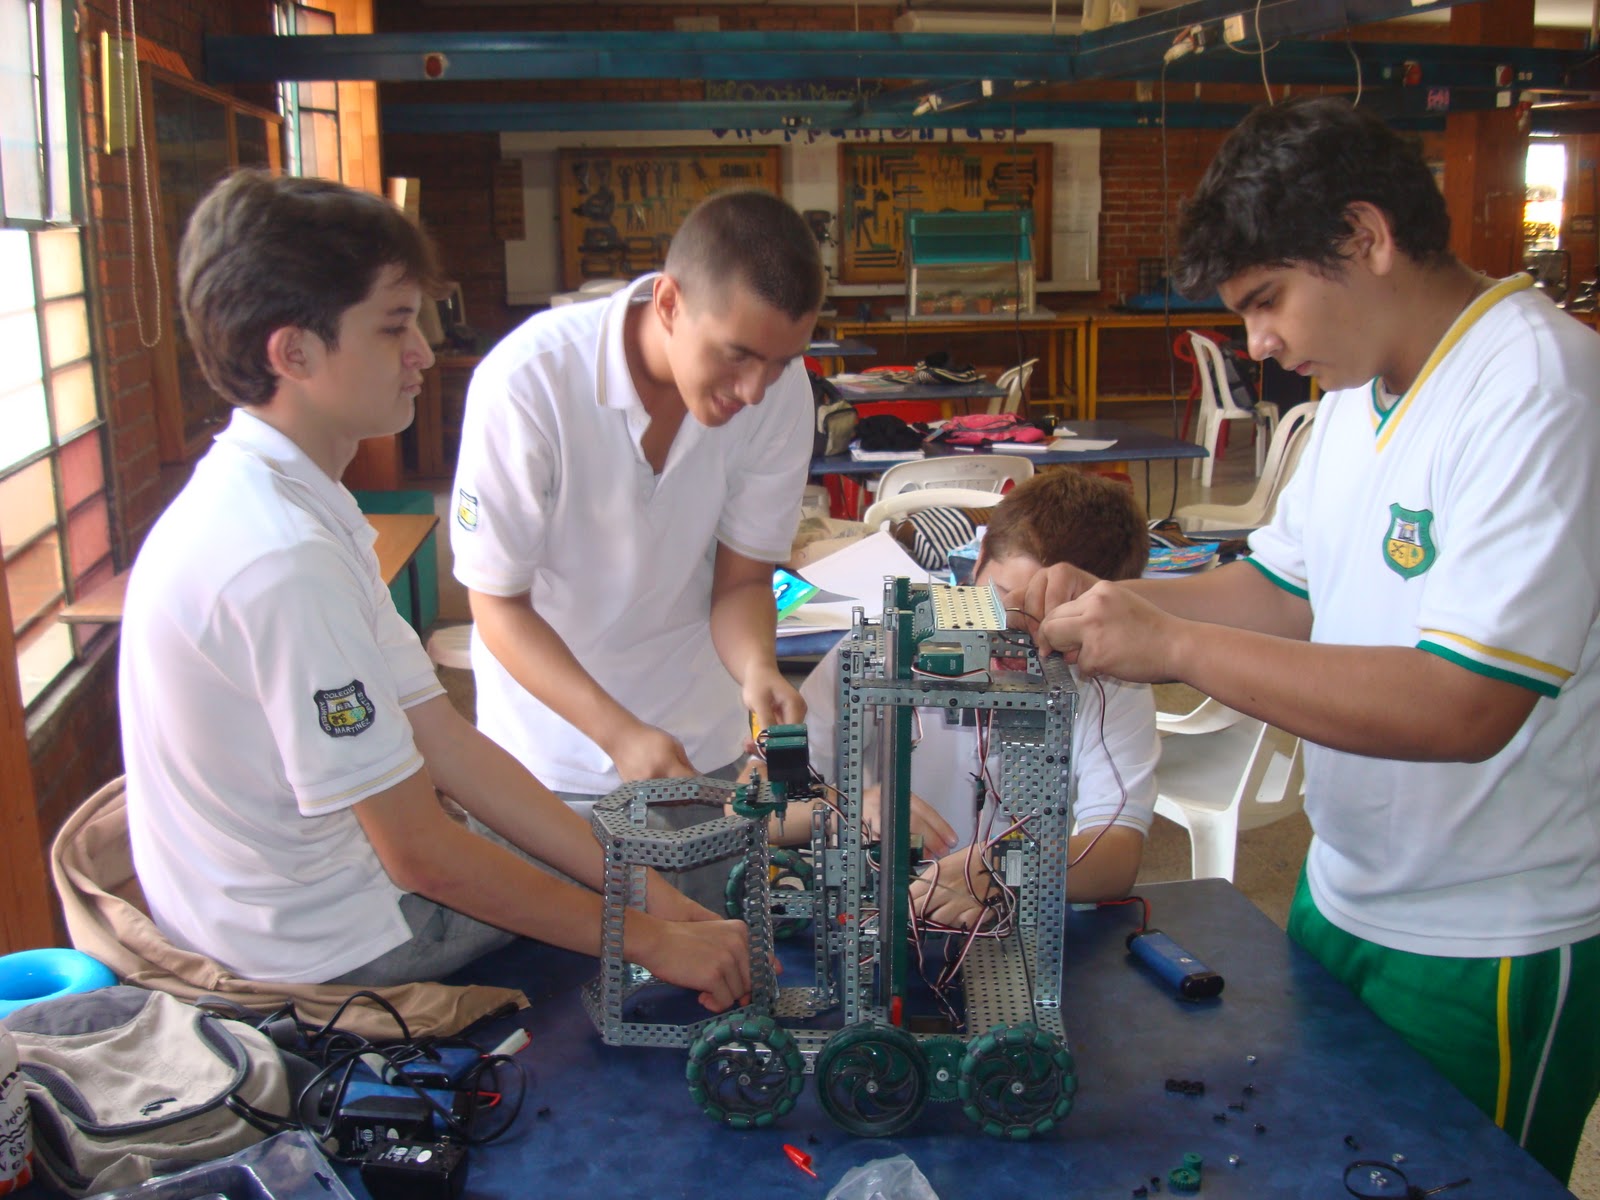
¿Qué hicimos?
El diseño y el armado de la pinza robótica
¿Por qué lo hicimos?
Por qué el robot no podía meter los aros en los postes fijos y móviles con eficacia.
¿Para qué lo hicimos?
Para que el robot tuviera la capacidad de meter con mayor precisión y mayor rapidez los aros tanto en los postes fijos como en los móviles
¿Cómo lo hicimos?
1. Diseño en escala real de la pinza, en este caso tuvo forma hexagonal
2. Doblamos una lámina siguiendo la forma de un hexágono, en la parte de abajo y otra en la parte de arriba partido en dos.
3. Fijamos la mitad del hexágono de arriba y por medio de unas varillas lo ajustamos.
¿Qué dificultades tuvieron en el proceso? ¿Cómo las solucionaron?
Que las piezas carecían de simetría entre sí. Las abrimos una con respecto a la otra de tal forma que se arreglaran las pegamos con las laminas.
¿Qué aprendimos?
A armar una figura geométrica transformando una lamina recta, siguiendo los ángulos respectivos.
In Galibot 2.0 to 3.0 Galibot
What did we do?
The design and assembly of the gripper
Why did we do?
Why the robot could not get the rings fixed and mobile posts effectively.
What did we do?
For the robot had the ability to get more accurate and faster in both rings fixed posts and on mobiles
How did we do?
1. Scale design of the gripper, in this case had a hexagonal
2. We folded a sheet following the shape of a hexagon in the bottom and one on the top split.
3. We set the top half of the hexagon and through rods adjust it.
What difficulties were in the process? How do you solve them?
That lacked parts of symmetry between them. The open one over the other so that the paste were fixed with the blades.
What did we learn?
To build a geometric transform a straight blade, following the respective angles.
No hay comentarios:
Publicar un comentario